Cheese Filo Pie
Posted: August 28, 2021 Filed under: Uncategorized | Tags: cheese, easy, Filo, Gibanica, pie, Serbian, simple 6 Comments
Wotchers!
The discovery of the recipe posted last week (Orange Filo Pudding) was a double delight, because its unusual method of baking the filo pastry sheets and then crushing them before mixing into the rest of the ingredients suggested to me a solution to a problem I’ve been having with a completely different recipe for a decade. This is that recipe.
Back then, I was hanging round Eastern European blogs and recipe sites and had seen this Serbian recipe for Gibanica. It too involved adding small pieces of filo to a batter and then baking to make an incredibly light and fluffy ‘pie’, but in that instance, the filo was raw, and every time I attempted it, no matter how careful I was, the shreds of raw filo clumped together and formed claggy lumps of dough in the cooked pie.
I really wanted this recipe to succeed, because not only was the shredding of the filo unusual, but also the cooking method. For a start, the pan wasn’t lined or greased and as soon as the pie was cooked, it had to be removed from the oven and set to cool UPSIDE DOWN, balanced on four coffee cups/glasses, etc. This allowed the crust to set and thus maintain the light and fluffy interior of the pie, even when cold (except mine never were due to the aforementioned clumping). The side of the pan must NOT be greased, because this allows the pie to rise and cling onto the edges, and this makes for the fluffy insides when cooled. Greasing the sides of your pan will make your baked pie collapse. Neither must your pan be non-stick. Ideally, it should be enamelled – this is the one I used for both this and the Orange Filo Pudding.
Using the method of pre-baking and crushing the filo into flakes worked perfectly the first time, and indeed the insides of the pie were light and fluffy both warm from the oven and cold the next day. Cold pie can be enjoyed as is, or warmed in the oven, or even split and toasted for the double delight of crunchy outsides and fluffy insides.
So a resounding success, no? Well, kinda. Because this isn’t an authentic Gibanica, which is what I was hoping for in the first place. Gibanica is made with special cheeses, peculiar to Serbia, namely sitnog sira and Kajmak. Sitnog sira is translated as a salty cottage cheese, but recipes suggest that outside of Serbia, feta is a suitable substitute, leaving me confused as to both texture and taste. Kajmak has been likened to cream cheese, except it is soft and fluffy as opposed to mild and heavy. Just whipping cream cheese does not appear to be an adequate replacement, because the flavour of kajmak is seemingly both stronger and, depending on the milk/method, sometimes sweeter. It’s manuafacture involves cooking raw milk and allowing it to cool and then skimming off the rich kajmak from the surface, so similar to a clotted cream in one sense.
Long story short, I couldn’t get the authentic cheeses, so I improvised. Thus, the recipe below is a far cry from a genuine Gibanica and will no-doubt cause all Serbian traditionalists to GASP and CLUTCH PEARLS in shock. Mea Culpa.

However, despite a lack of authenticity, this pie is exceptionally delicious. In Serbia, Gibanica is baked in large, deep tins on a scale eqivalent to school meals catering. Because it is so light and fluffy, a large slice is not very substantial. The quantities below, using the tin mentioned above, make for a relatively shallow (4cm-ish) pie – ideal for serving like quiche, with some salad for a light lunch. You could double the quantities below and bake it in the same, square tin for a much thicker slice. I have also seen picures of it being served by itself in finger slices with morning coffee. By the way, if you’re reading this and you’re from Serbia, if I’m mistaken on any aspect of this pie, please drop me a comment below and set me right.
As can be seen from the top picture, I also tried baking it in a(n enamelled) 1kg loaf tin. Curiously, it took the same amount of time to bake, but it rose spectacularly, and shows the fluffiness of the insides to best advantage. I recommend this method if the idea of having it as toast/toasted sandwiches is more your thing.
Cheese Filo Pie
1 box filo pastry (200g-220g, depending on brand)
2 large eggs
120g grated Parmesan cheese
150g cottage cheese
150g fat-free Greek yogurt
100ml sunflower oil
½ tsp bicarbonate of soda
½ tsp fresh grated nutmeg
½ tsp mustard powder
½ tsp salt
- Have a square ( 20-22cm) baking tin ready – do NOT grease or line it.
- Bake the filo.
- Remove the filo pastry from the packaging and lay flat on the counter.
- Line a large baking sheet with baking paper.
- Take each sheet of filo pastry and lightly gather it, concertina style, and lay it on the baking sheet.
The folded sheets should fill the baking sheet in loose ruffles. - Put the baking sheet into the oven and turn the heat to 120°C, 100°C Fan.
- Bake for 1 hour until the filo pastry is thoroughly crisp and dried, but not coloured.
Set aside to cool. - When the filo is cold, crush it into small flakes. This is most tidily achieved by putting the ruffles into a ziplock bag to crush, although a large bowl would also work.
- Heat your oven to 200°C, 180°C Fan.
- Mix the wet ingredients.
- Whisk the eggs, cheeses, yogurt and oil in a food processor until smooth.
- Add the spices, salt and bicarbonate of soda and whisk briefly.
- Pour the mixture into a bowl and add the dry filo flakes in 3 or 4 batches. Stir well between each batch to prevent clumping.
- When all the filo has been thoroughly mixed in, pour the mixture into your baking pan and smooth over the top.
- Bake for 35-40 minutes until risen, set and a rich brown on top, turning the pan around after 20 minutes to ensure even baking.
- Set up the tins/cups for cooling the pie. I used 4 tins of soup. NB If you only have shallow tins/cups (less than 10cm in height) put a clean cloth/towel onto the surface and place your tins/cups onto it. The cloth will help absorb the steam, which might otherwise circle back and soften your pie ‘crust’.
- When your pie is baked, remove from the oven and IMMEDIATELY turn it upside down, resting the corners of your tin on your prepared cups/tins etc.
- Leave to cool for 20 minutes. Do not leave it longer, otherwise the bottom will pull away from the base of the tin and collapse or the base will remain attached to the tin and the rest of the pie will tear away, splitting your pie.
- Turn your pie the right way up and serve. You can serve from the tin, but I prefer to remove it from the tin first. NB This is a bit of a Faff™, but worth it.
- Run a knife (be careful not to scratch your tin) or a dough scraper (better) around the edges of your pie to free the sides from the tin.
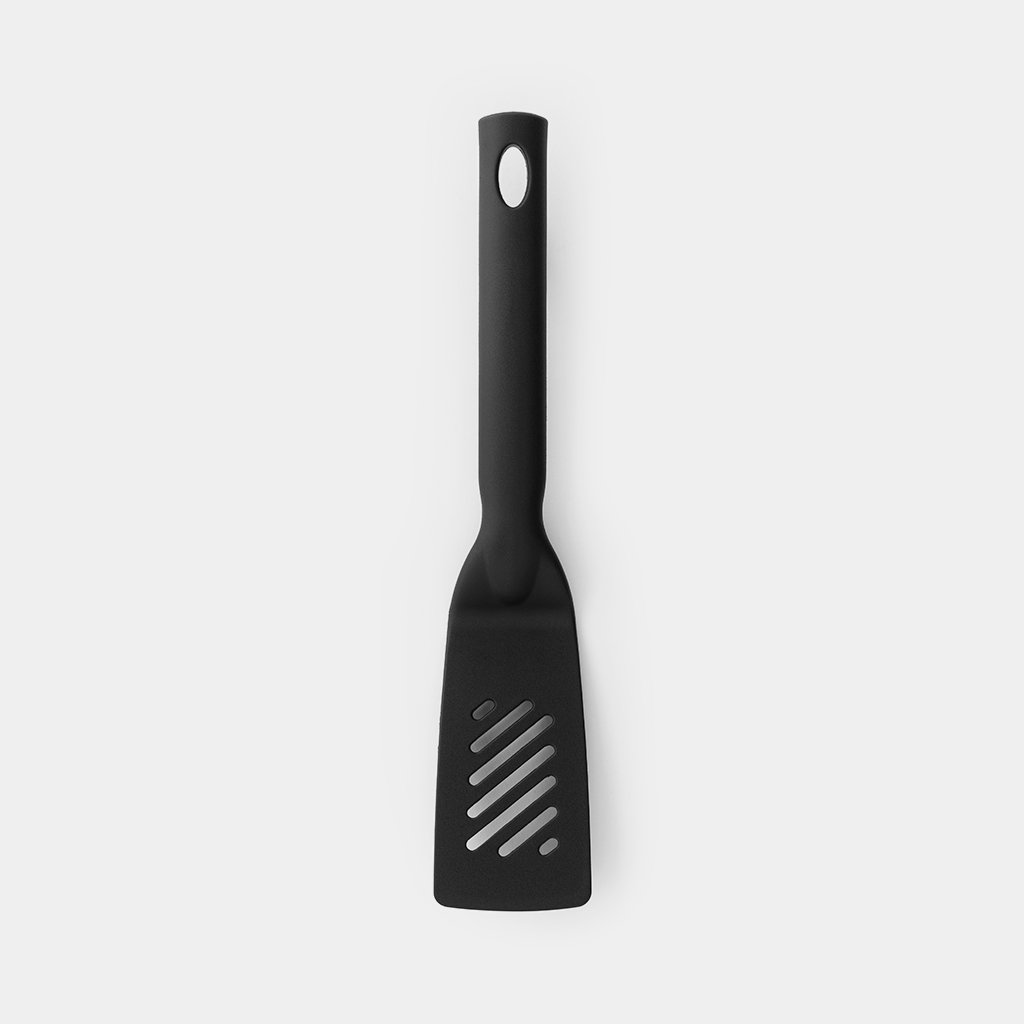
- Using a spatula like this if possible, or like this one, slide it down the side of your pie and then underneath, gently freeing the pie from the tin. Work your way around the base of the pie until it is fully loosened. Don’t attempt to lift the pie out until you are sure it is no longer stuck to the tin.
- When ready, gently lift the edge of your pie and slide it onto a serving plate.
- Serve warm.
I am revisiting your blog (Lord knows why I haven’t been following it assiduously) and am guffawing at pearl clutching and loved Faff™️ As I am an Olympic level faffer! Recipe looks fascinating too thank you!
Wotchers Tom!
Glad you’re entertained – do pop back if you try it and let me know how you get on!
MAB 😀
This sounds perfect for using up the half packets of filo pastry I always seem to have in the freezer, which never thaw out sufficiently flexible to make decent pies!
Wotchers smugfacelazybones!
Oooh yes – excellent!
Do let me know how you get on!
MAB 😀
Hi… you advise against a non-stick pan, but the link to the one you use is non-stick. I’m a little confused. Also, I plan on making the orange filo pudding… do you recommend inverting that as you do here? Thanks.
Wotchers Pete!
I can understand the confusion – that pan doesn’t actually have a non-stick coating, even though it says it’s non-stick.
It’s an enamel coating to which the pie filling will attach.
Regular non-stick-pans which have Teflon etc. coatings need to be avoided because they will remain slippery, even when ungreased.
And no, the orange pie doesn’t need to be inverted. There’s fewer eggs so it doesn’t rise as much and consequently doesn’t dink as much.
Also, you need to pour syrup over it when it comes out of the oven.
Hope this helps!
MAB 😀