Puff Pastry Fans
Posted: May 29, 2017 Filed under: Pastry, Puff Pastry Leave a comment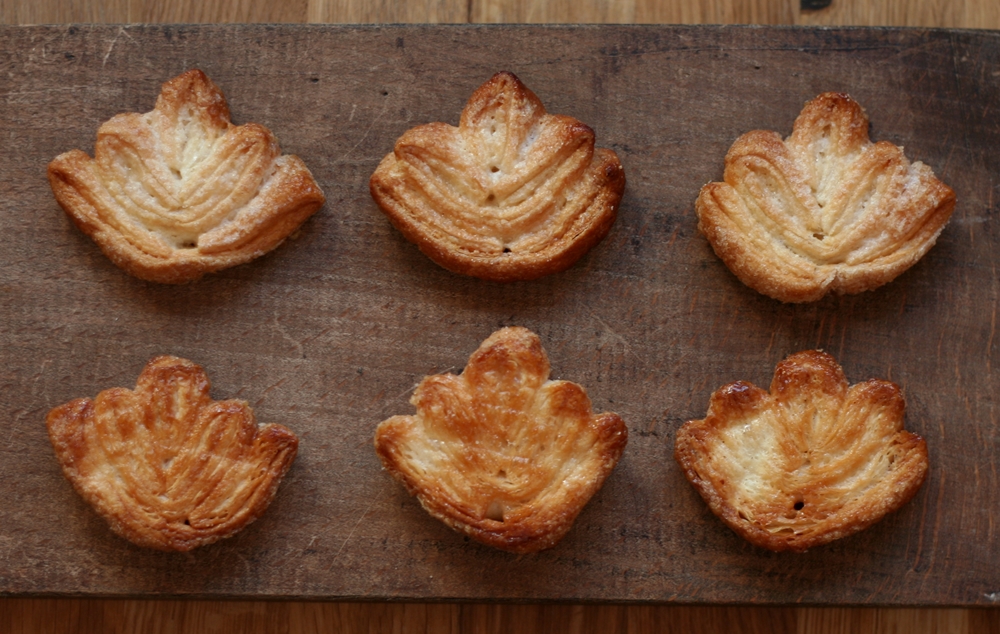
Five piece fans showing top sides (top) and undersides (bottom)
You will need:
1 roll of puff pastry – chilled
caster sugar
- Cover a baking sheet with parchment paper.
- Preheat the oven to 220°C, 200°C Fan.
- Sprinkle the work surface with caster sugar.
- Unroll the puff pastry and lay it onto the sugar.
- Sprinkle more caster sugar over the pastry.
- Use a rolling pin over the pastry to press the sugar into both sides.
- Measure the length of your pastry and divide into three pieces, as per the image below:
 If your pastry is longer, you can make the pieces larger if liked – For example, for pastry 30cm long you can divide it into pieces 6cm, 12cm & 12cm.
 - Fold the small piece in half lengthways. Fold the larger pieces in half lengthways (to determine the middle), then fold each of the long sides into the middle. Assemble the pieces as follows:

- Cut the pastry into 1cm thick slices and lay onto the parchment, cut sides upwards and spaced well apart to allow for expansion during cooking.
- Bake for 12-14 minutes, turning the baking sheet around after 7 minutes to ensure even colouring. Don’t be tempted to take the fans out too early – they need to be nicely caramelised.
- Cool on a wire rack.
Variations
- You can obviously make these as big as you like, it merely involves rolling the pastry long enough or using multiple sheets of pastry, but these are a nice, dainty size, perfect for enjoying with a cup of tea or coffee.
- You can also sandwich them together with a little smooth jam, preserve or conserve, or use them in place of wafers for an ice-cream sandwich.
- Another option is to combine them with a differently-shaped base, some fruit and cream, for a delicate dessert pastry. In the photograph I have used the slightly larger fan design described here.
